One of the great things about DIY – besides saving money, getting what you want, and that you are making something handmade – is if your needs change over time, you know how your project was built, so your project can change too.
DIMENSIONS
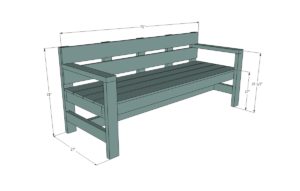
Dimensions are shown above.
PREPARATIONS
- 6 – 1×6 @ 6 feet long
- 7 – 2×4 @ 8 feet long
- 2-1/2″ and 2″ exterior decking screws
- 2 – 2×4 @ 72″
- 5 – 2×4 @ 21″
- 2 – 2×4 @ 31″
- 4 – 2×4 @ 24″
- 2 – 2×4 @ 25-1/2″
- 1 – 2×4 @ 69″
- 3 – 2×4 @ 18-1/4″
- 6 – 1×6 @ 72″
INSTRUCTIONS
STEP 1
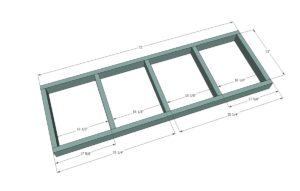
Build the basic seat frame of the swing first. Use the 2-1/2″ exterior decking screws to attach the longer boards to the shorter boards. Kreg Jig users can also build with 1-1/2″ pocket holes and 2-1/2″ pocket hole screws.
STEP 2
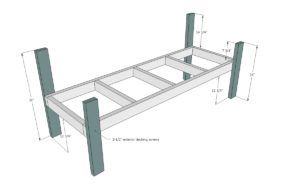
Next, add the legs to the seat frame.
STEP 3
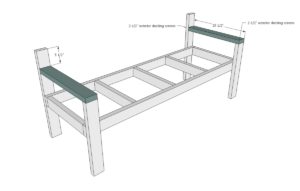
Then add the arms on top of the shorter legs, and then tie into longer back legs.
STEP 4
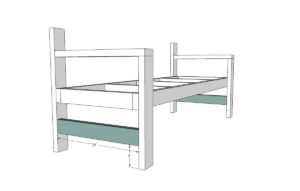
Add the shorter stretchers between the bottom legs – this will help keep the legs from splaying out.
STEP 5
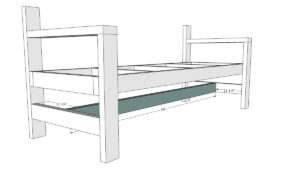
STEP 6
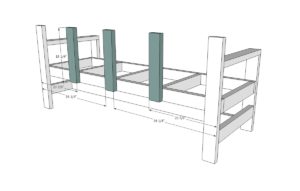
Attach backrest supports with the 2-1/2″ screws.
STEP 7
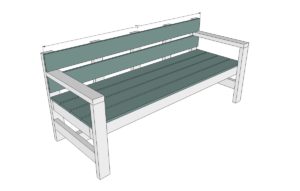
Use the 2″ screws to attach the 1×6 boards to the framing. Make sure you fill all screw holes with an exterior wood filler and then finish as desired.
FINISHING INSTRUCTIONS
Fill all holes with wood filler and let dry. Apply additional coats of wood filler as needed. When wood filler is completely dry, sand the project in the direction of the wood grain with 120 grit sandpaper. Vacuum sanded project to remove sanding residue. Remove all sanding residue on work surfaces as well. Wipe project clean with a damp cloth.
It is always recommended to apply a test coat on a hidden area or scrap piece to ensure color evenness and adhesion. Use primer or wood conditioner as needed.
CREDIT ANA WHITE
