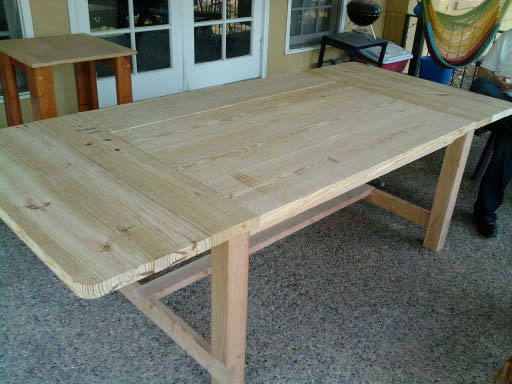
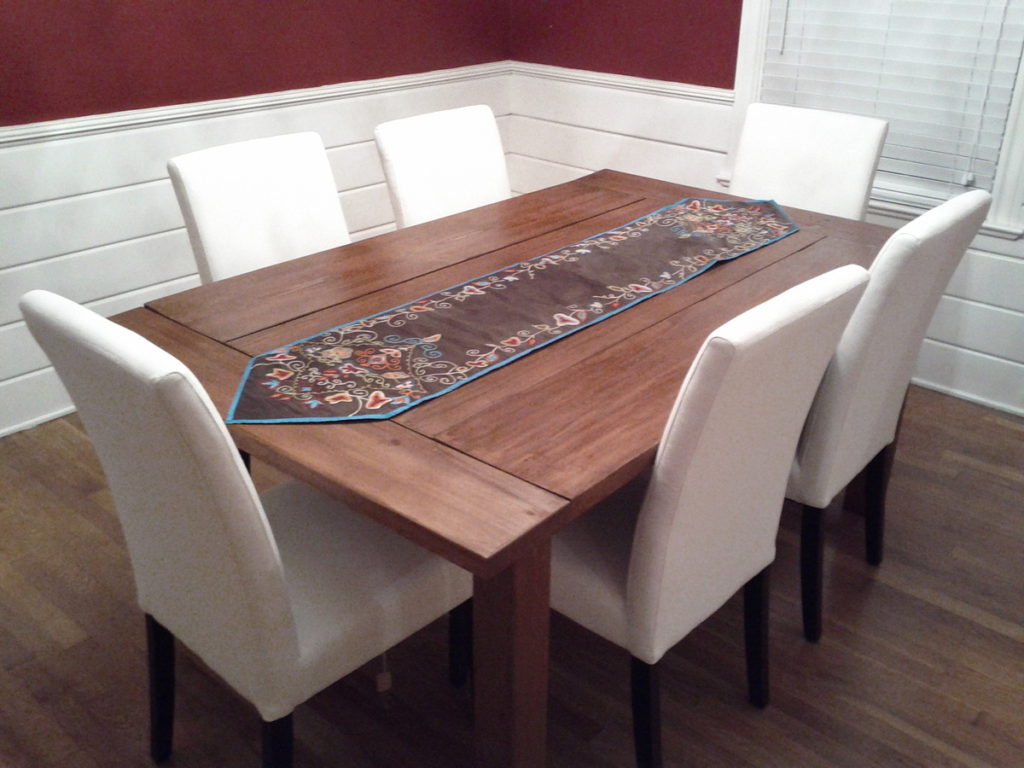
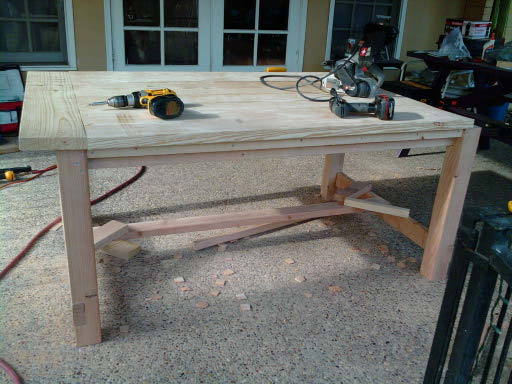
We saw this table at a furniture store but did not want to pay the hefty price for it. We took a few pics and then looked for similar plans on this site and found some. I then purchased the lumber, yellow pine, and timber for the legs. The top is three 2X12 and the ends and removable extensions are 2X6. The legs are 4X4 timber. The table is extremely heavy and I needed a second person to help with the cuts and putting it together. It took about 8 hours to completely assemble and other several hours of sanding and then finally about three hours to stain. It was well worth all the time I spent putting this together!
DIMENSIONS
PREPARATION
- 2-inch screws
- 2 1/2 inch screws
- 3-inch screws
- 1 1/4 inch finish nails
- Elmer’s Wood Glue
- Elmer’s Wood Filler
- 120 grit sandpaper
INSTRUCTIONS
STEP 1
STEP 2
STEP 3
STEP 4
STEP 5
FINISHING INSTRUCTIONS
Fill all holes with wood filler and let dry. Apply additional coats of wood filler as needed. When wood filler is completely dry, sand the project in the direction of the wood grain with 120 grit sandpaper. Vacuum sanded project to remove sanding residue. Remove all sanding residue on work surfaces as well. Wipe project clean with a damp cloth.
It is always recommended to apply a test coat on a hidden area or scrap piece to ensure color evenness and adhesion. Use primer or wood conditioner as needed.
CREDIT DRGAL12
