Free plans to build a desk hutch inspired by Pottery Barn Teen Chatham desk and hutch. Build your own with free step by step plans including shopping list and cut list.
DIMENSIONS
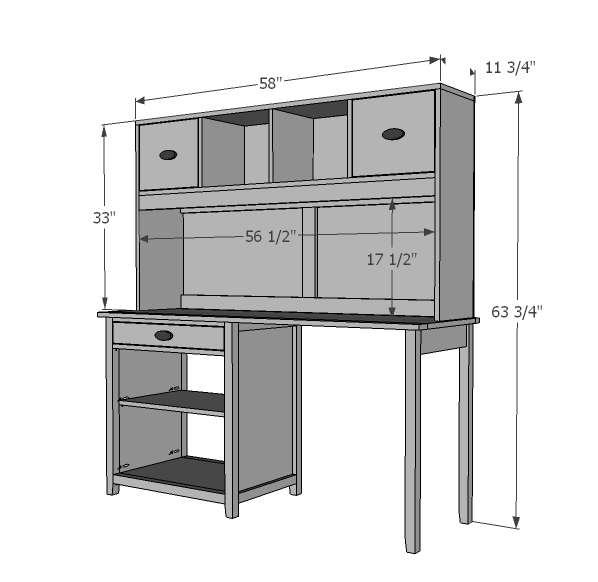
Dimensions are shown above.
PREPARATION
- 3 – 1×12 @ 8 feet long
- 3 – 1×3 @ 8 feet long
- 1 – sheet 1/4″ plywood or backerboard
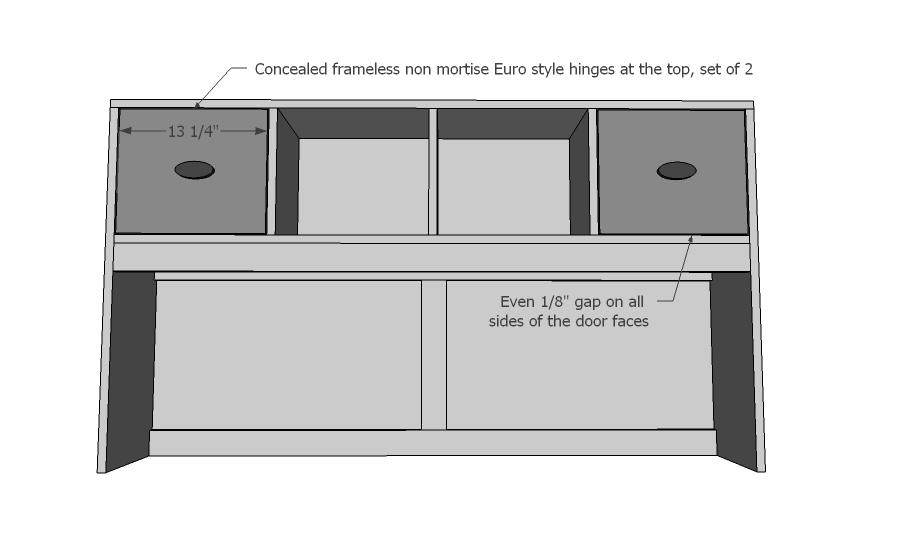
- 2 sets Euro Style hinges
- 2 inch screws
- 3/4 inch finish nails
- 1 1/4 inch finish nails
- 1-1/4″ Pocket Hole Screws
- Elmer’s Wood Glue
- Elmer’s Wood Filler
- 1 – 1×12 @ 58″ (top)
- 2 – 1×12 @ 32 1/4″ (sides)
- 1 – 1×12 @ 56 1/2″ (bottom shelf)
- 2 – 1×12 @ 11 1/2″ (CUT TO FIT – dividers)
- 3 – 1×3 @ 56 1/2″
- 1 – 1×3 @ 15″
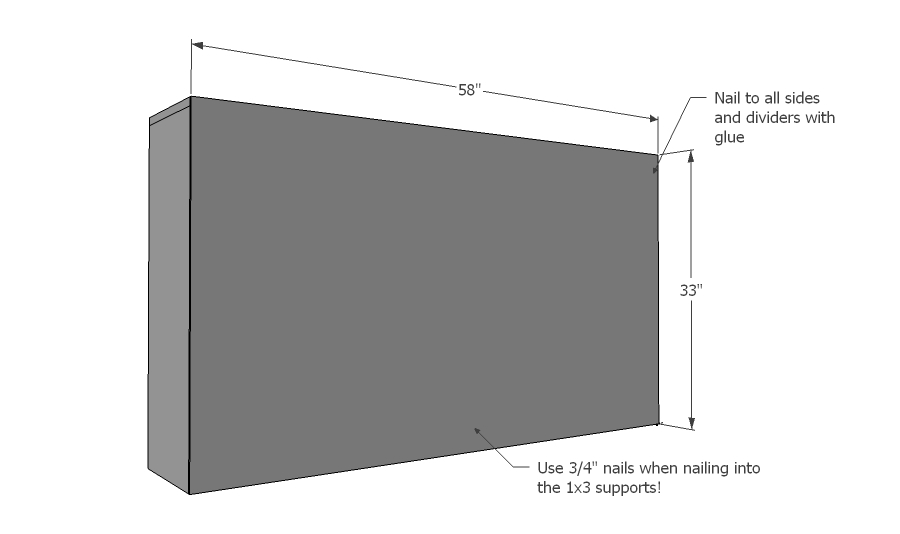
- 1 – 1/4″ plywood @ 58″ x 33″
- 2 – 1×12 @ 13 1/4″
INSTRUCTIONS
STEP 1
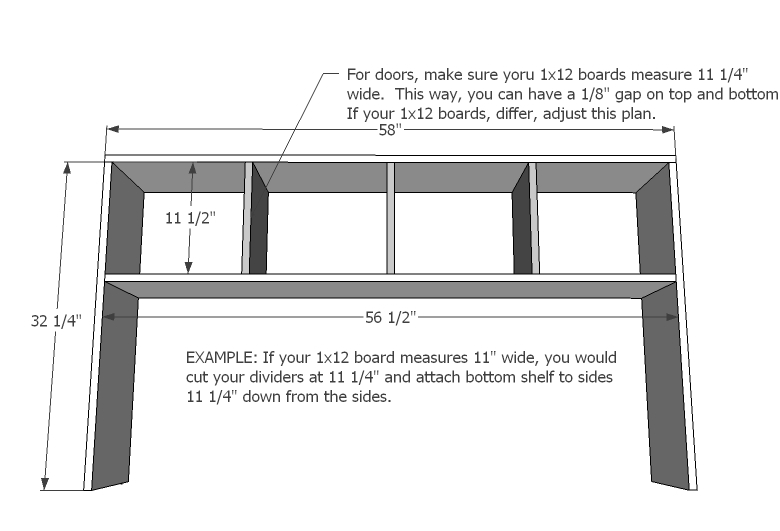
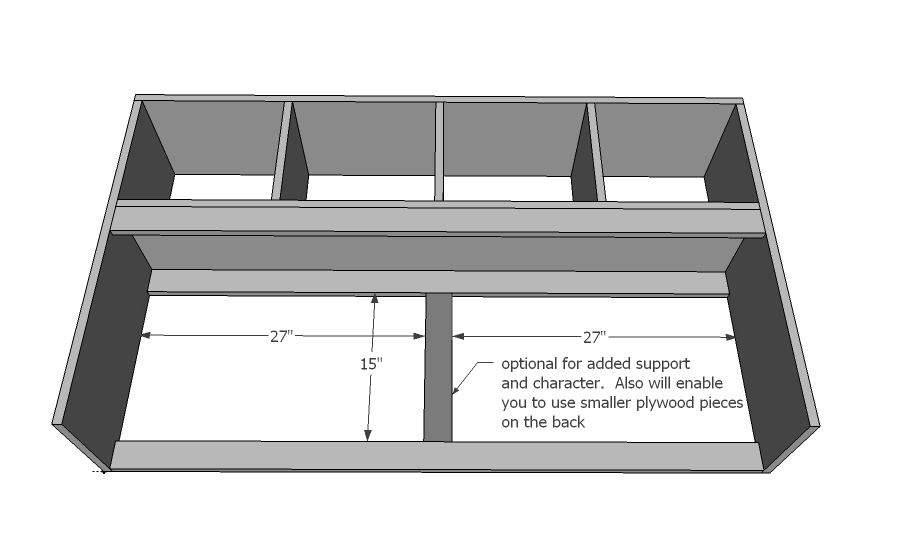
Build the box. Note that if your 1x12s are NOT 11 1/4″ wide, you will need to make adjustments as noted in the plan. You can build with 2″ countersunk screws or 1 1/4″ pocket hole screws but I don’t recommend nails because there is no face frame on this one. Check for square.
STEP 2
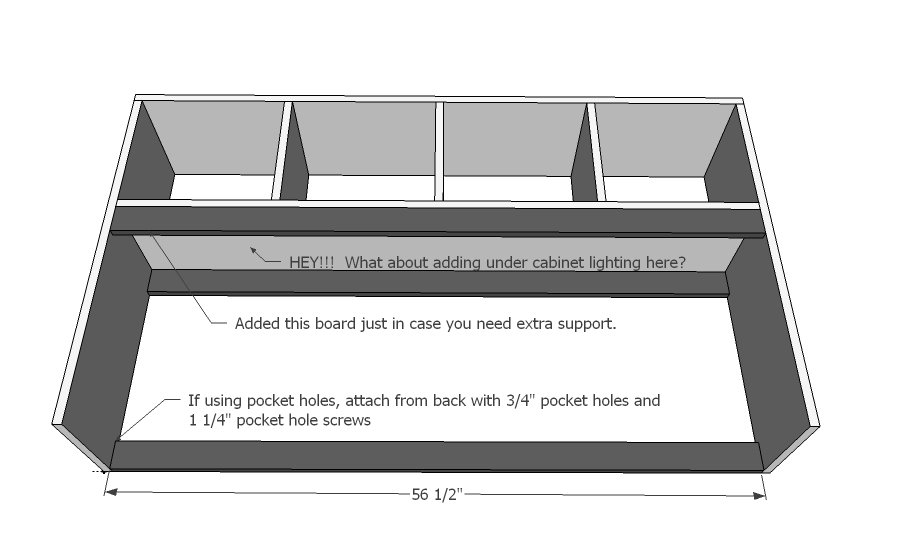
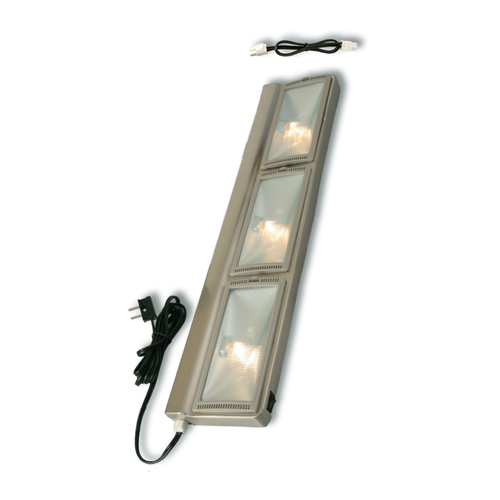
Supports – I added the front one just in case you need extra support. It’s also a great spot to hide under cabinet lighting!
It is always recommended to apply a test coat on a hidden area or scrap piece to ensure color evenness and adhesion. Use primer or wood conditioner as needed.
