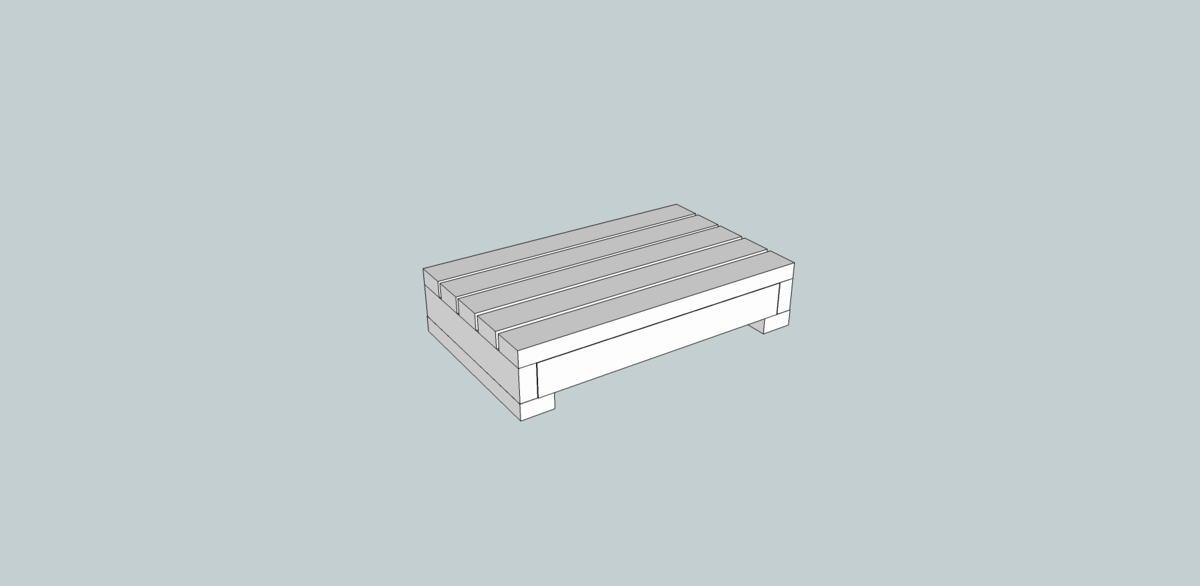
In the quest to potty train our son, I designed this bathroom helper step to help him better reach a regular sized toilet. It is designed wide and low to the ground so there is no chance of the step tipping over. The height could be adjusted by added extra footers to the bottom or using a thicker board for the bottom footers. It is also perfect for him to use as a step at the sink when washing his hands.
A local walnut wood was used to make this stool. Luckily, my neighbor loves to give me wood that he cuts in his saw mill. Of course, any type of wood could be used for this easy project.
DIMENSIONS

- 2 1×2 boards 8 ft long
- 1 1/2 inch screws
- Elmer’s Wood Glue
- 120 grit sandpaper
- All cut from 1X2 boards
- (5) 17 1/2″ Top slats of step
- (2) 16″ front and back support
- (4) 11″ Side supports and footers
INSTRUCTIONS
STEP 1
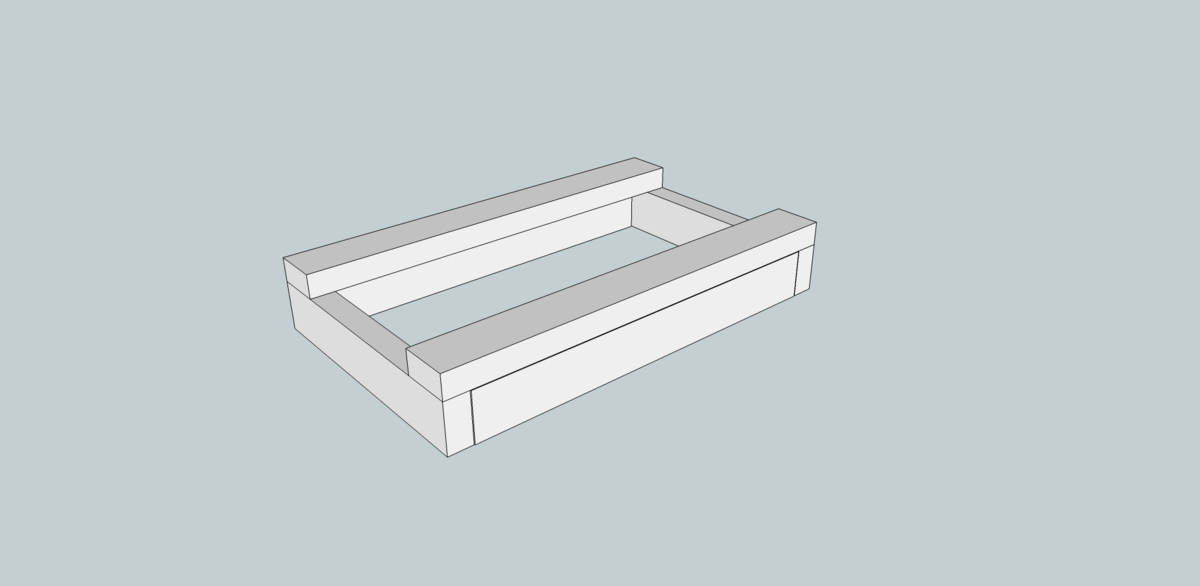
Make the frame of the step by attaching the 11″ side supports to the 16″ front and back supports. Predrill and countersink for all screws and glue all joints.
STEP 2
Attach the first top slat to the frame using glue and countersinking screws. Be sure to line up the edges of the frame with the top slat. There should be no overhang.
STEP 3
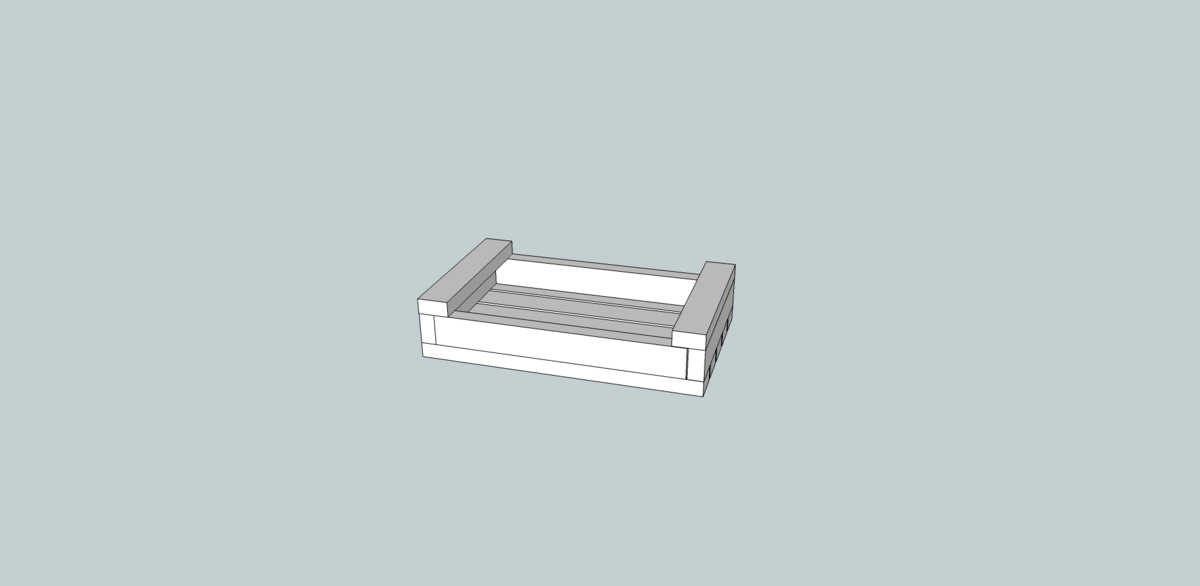
Attach the last top slat in the same way at Step 2.
STEP 4
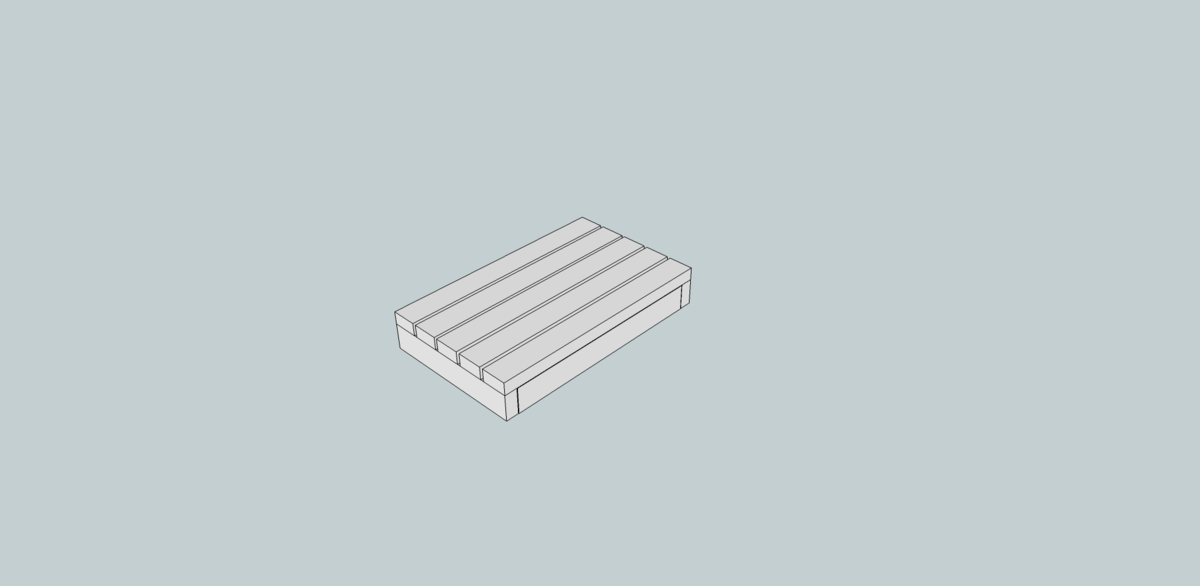
Place the remaining top slats on the top of the step with a 1/4″ space in between each slat. Glue and coutersink screws.
STEP 5
STEP 5
It is always recommended to apply a test coat on a hidden area or scrap piece to ensure color evenness and adhesion. Use primer or wood conditioner as needed.


