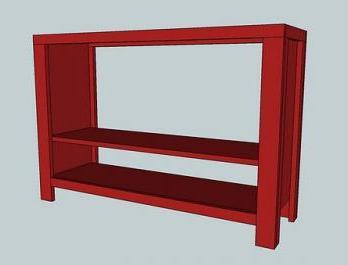
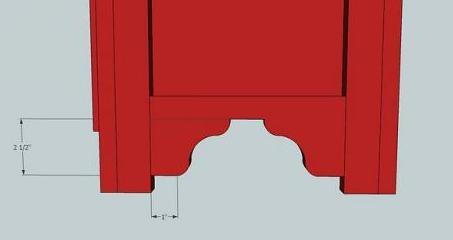
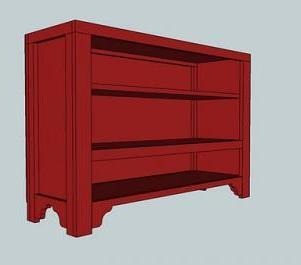
This simple closed media console can be built with or without drawers. Add a rustic finish and hardware, and create a beautiful spot for your tv – or use as a console table.
DIMENSIONS
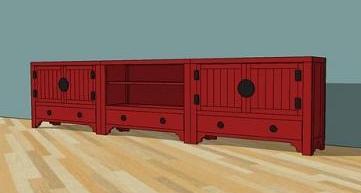
41″ wide x 28″ high x 13″ deep.
PREPARATION
- 3 – 1×12 @ 8 feet long
- 4 – 1×2 @ 8 feet long
- 2 – 1×3 @ 8 feet long
- 1 – 1×4 @ 4 feet long
- 1 – 1×6 @ 8 feet long
- Hardware
- Plywood for back (optional)
- Elmer’s Wood Glue
- Elmer’s Wood Filler
- 120 grit sandpaper
- primer
- wood conditioner
- paint
- paint brush
Cut List for the Cabinet
- 2 – 1×12 @ 23 3/4″ (Sides of Cabinet)
- 3 – 1×12 @ 38″ (Shelves)
- 2 – 1×12 @ 1″ (Drawer Guides)
- 1 – 1×12 @ 39 1/2″ (Top of Cabinet)
- 2 – 1×2 @ 11 1/2″ (Top Side Trim)
- 2 – 1×2 @ 41″ (Top Front and Back Trim)
- 4 – 1×2 @ 26 1/2″ (Sides of Legs)
- 4 – 1×3 @ 26 1/2″ (Front and Back of Legs)
- 1 – 1×2 @ 36″ (Back Bottom Trim)
- 1 – Beadboard Plywood 41″ wide x 25 1/4″ tall
- 2 – 1×4 @ 8 1/2″ (Side Footer Piece, Cut Out Design)
- 1 – 1×4 @ 36″ (Front Footer Piece)
- 1 – 1×2 @ 36″ (Front Middle Shelf Trim)
Cut List for ONE Drawer
- 1 – 1×12 @ 34 1/4″ (Drawer Bottom)
- 1 – 1×6 @ 34 1/4″ (Drawer Back)
- 2 – 1×6 @ 12 1/4″ (Drawer Sides)
- 1 – 1×6 @ 35 3/4″ (Drawer Front)
INSTRUCTIONS
STEP 1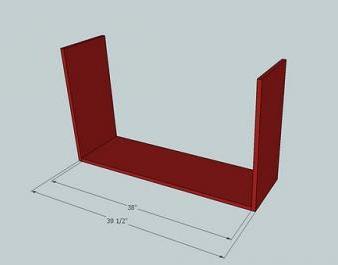
Start by attaching with 2″ nails and glue the sides to the bottom shelf. Use one of the shelf pieces. Nail through the sides into the end edge of the shelf. Line up bottom edges.
STEP 2
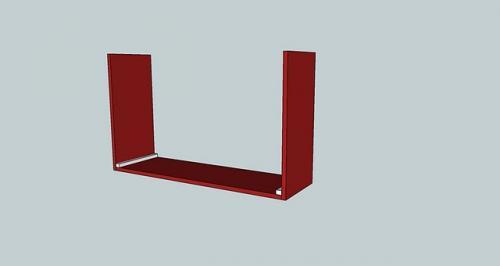
Next, attach with 1 1/4″ nails and glue the drawer guides. The drawer guides need to sit 1″ wide by 3/4″ tall.
STEP 3
After the drawer guides are in place (not shown in the rest of the diagrams), add the middle shelf, as shown, 7 1/4″ from the bottom of the cabinet to the bottom of the shelf. Use 2″ nails and glue.
STEP 4
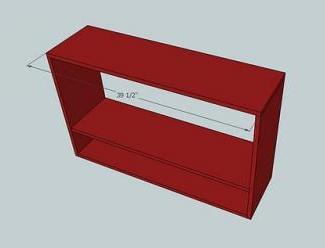
Nail the Top of Cabinet in place, as shown above. Use glue and 2″ nails and nail through the top of the cabinet into the top edges of the sides. Now is a good time to check for square. (If you do not know how to check for square, see the HOW-TO section).


