Build your own tall wood planters with our DIY plans! This plan uses inexpensive cedar fence pickets and easy cutting to keep the cost and time investment down. Cool, modern design with tapered sides to add style to your outdoor space.
These tall wood planters are so stylish and beautiful! You’ll love that they are inexpensive and quick to build – this is an easy way to add curb appeal or freshen up your outdoor space.
DIMENSIONS

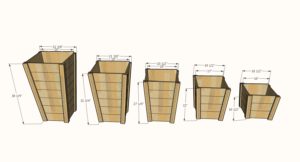
Dimensions for different height planters shown in diagram.
PREPARATION
- 1 – 5-1/2” wide, six feet long, cedar fence picket (not dogeared) per row (for example, for the largest tall wood planter, you would need 7 cedar fence pickets) per planter
- For the planters three and four rows high: 1 – 1x2x8 and 1 – 1x3x8
- For the planters four, five and six rows high: 2 – 1x2x8 and 2 – 1x3x8
- 1″ and 1-1/4″ brad nails
- Recommend 1-1/4″ self tapping screws (get the ones with star bits appropriate for exterior use)
- Scrap wood may be needed to add a “bottom” to the planters, depending on how much soil or if you are using a plastic liner pot inside the planter
- 4 – 1×2 @ width of all your cedar fence pickets added together (for example, 7 cedar fence pickets was 38-1/2″)
- 4 – 1×3 @ width of all your cedar fence pickets added together (for example, 7 cedar fence pickets was 38-1/2″)
INSTRUCTIONS
STEP 1
STEP 1
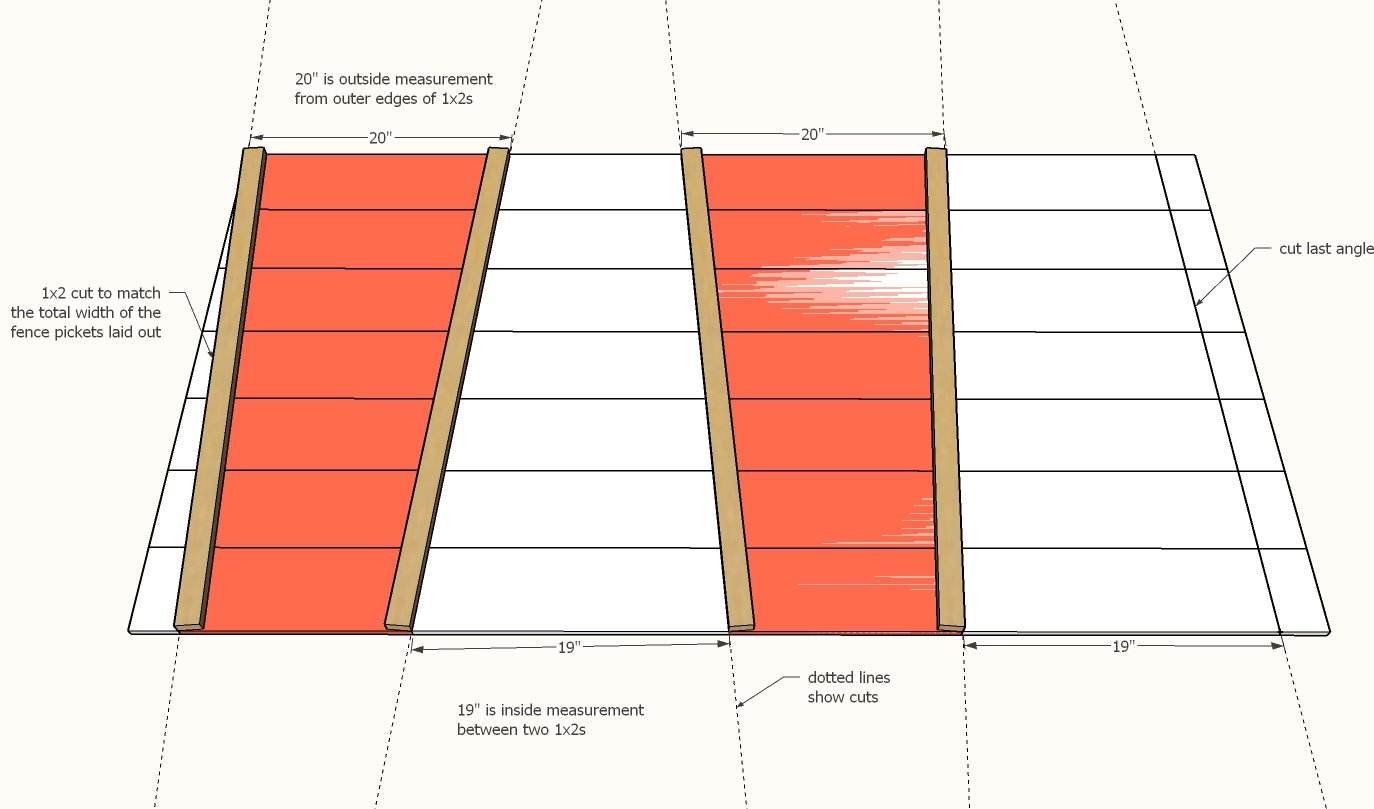
It is very important to watch the video to understand how this planter is made. The diagram above shows the dimensions for the tallest planter – you will need to modify your layout for smaller planters as detailed below in the bullet list.
Layout your fence pickets, up to seven high, on a flat level surface, with fence pickets as lined up as possible to each other.
Begin by drawing a line at a 5-degree angle off the square and nailing a 1×2 to the top of all the fence pickets with 1″ brad nails – two nails per overlap of 1×2 and each fence picket.
Then measure over according to the list below for your size the outside measurement, and make draw a 5-degree line, tapering inward from your first line. The side of the planter will be between the lines you just drew (shown in orange in the diagram. Attach another 1×2.
Repeat these steps until you have attached all four 1x2s to the fence pickets and drawn the last line.
- 7 Pickets High: 20″ outside measurement, 19″ inside measurement
- 6 Pickets High: 19″ outside measurement, 18″ inside measurement
- 5 Pickets High: 18″ outside measurement, 17″ inside measurement
- 4 Pickets High: 17″ outside measurement, 16″ inside measurement
- 3 Pickets High: 16″ outside measurement, 15″ inside measurement
Cut along the dotted lines shown in the diagram with a circular saw with the blade set to 1-1/2″ deep.
Save the larger cut pieces to make up the free sides of the planters (see step 3)
STEP 2

Change nails in the brad nailer to 1-1/4″ length.
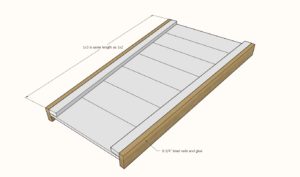
Attach 1x3s to the 1x2s with glue and nails, keeping outside edges lined up.
STEP 3
Attach the free fence picket pieces to the 1x3s with 1″ brad nails.
Finish the planter by adding 1-1/4″ screws to the top and bottom rows to secure everything.
FINISHING INSTRUCTIONS
Lightly with medium-grit sandpaper.
CREDIT ANA WHITE

